How to Use a Nextion Display with Arduino Mega
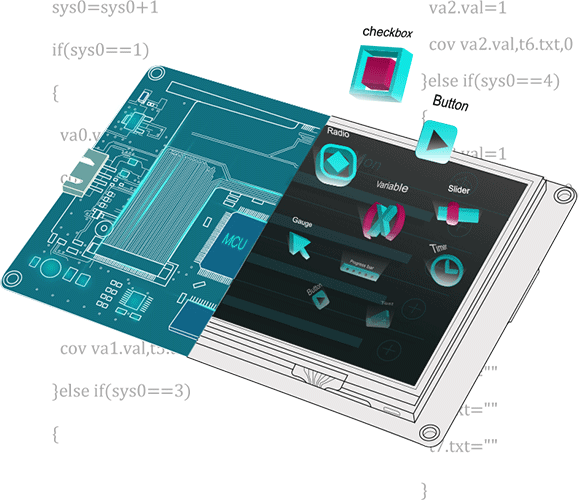
Nextion displays are very convenient when we want to create a graphical interface without writing all the graphics at a low level on Arduino. The display handles buttons, pages, images, and text, while Arduino takes care of the project logic and sensors.
In this article, we imagine a real-world project with:
- Arduino Mega 2560
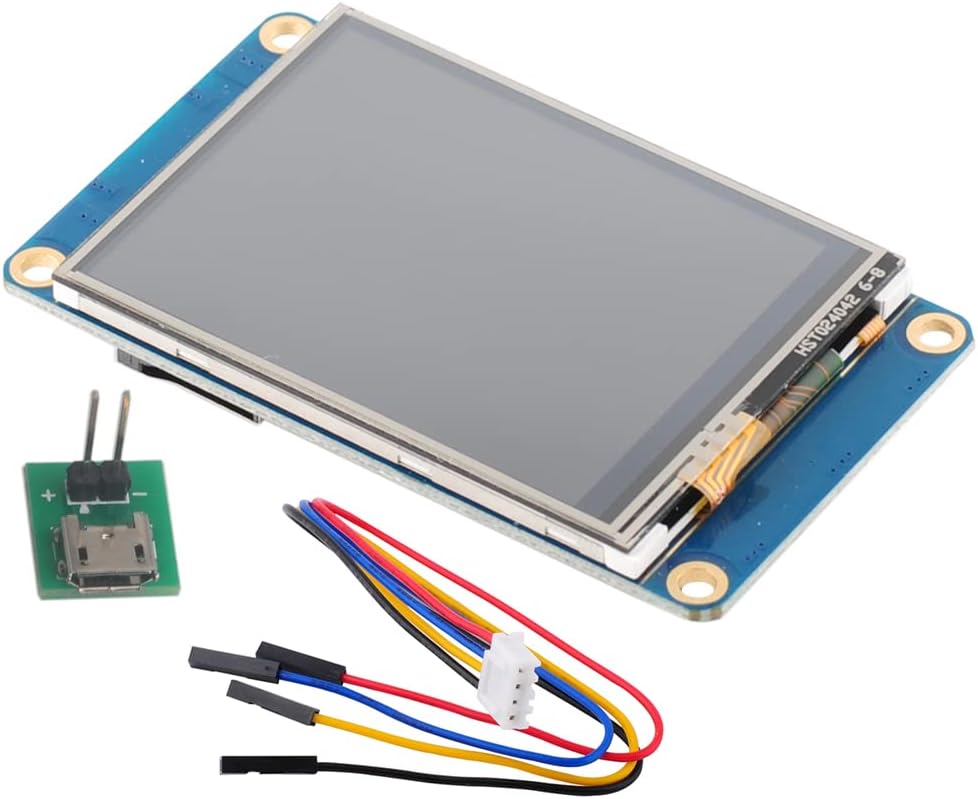
- Nextion display connected via serial port
- DS3231 RTC module for the clock
- DHT22 sensor for temperature and humidity
The goal is to create three screens:
- a main page with time, temperature, and humidity
- a page to adjust the clock
- a page to adjust the display brightness
Project Architecture
The best rule of thumb is this:
- the Nextion acts as the user interface
- Arduino reads the sensors and decides what to show
- the Nextion does not contain the project logic, only the UI
This approach makes the system easier to understand, test, and modify.
Components Used
- Arduino Mega 2560
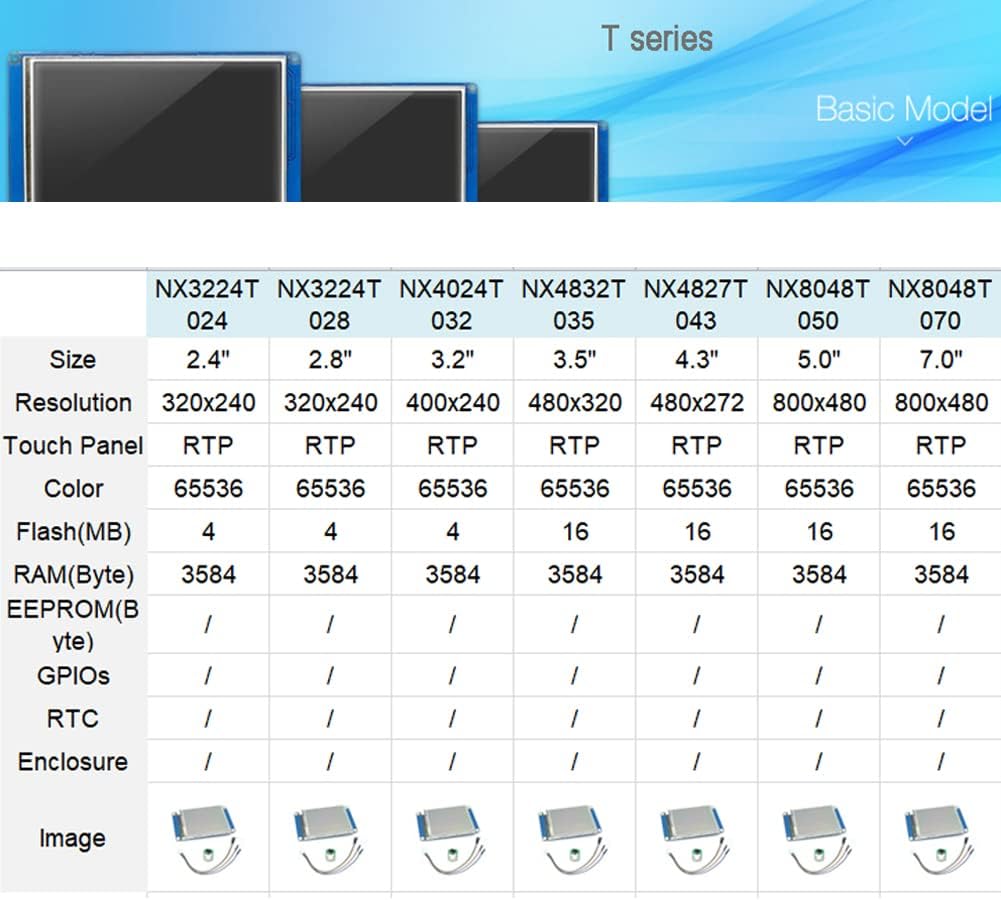
- Nextion Basic or Enhanced
- DS3231 RTC module
- DHT22 sensor
- Stable 5V power supply
If you have a Nextion Enhanced or Intelligent, you can also use a few extra internal features, but for a simple and compatible project, it is better to leave the timekeeping to the DS3231.
Wiring
To avoid issues with the USB port used for debugging, it is best to use a dedicated hardware serial port on the Mega for the display.
Nextion Display
Nextion TX -> Mega RX2pin 17Nextion RX -> Mega TX2pin 16Nextion GND -> Mega GNDNextion 5V -> 5V power supply
RTC and Sensors
DS3231 SDA -> Mega pin 20DS3231 SCL -> Mega pin 21DHT22 DATA -> Mega pin 7
- A common ground is mandatory between Arduino and the display
- Do not power a large Nextion display from a weak 5V source
- Use
Serialfor the USB serial monitor andSerial2for the Nextion
Page Structure on the Display
For this example, we can create:
Page 0: Home
tTimefor the timetTempfor the temperaturetHumfor the humiditybGoClockicon to navigate to the clock pagebGoBrighticon to navigate to the brightness page
Page 1: Clock Adjustment
nHournumber for hoursnMinnumber for minutesbSaveTimesave buttonbBack1return home button
Page 2: Brightness
hBrightslider 0..100tBrighttext with percentagebBack2return home button
How to Create the Project in the Nextion Editor
1. Create a new project
Open the Nextion Editor and create a new file by choosing:
- the exact display model
- the correct orientation
- the right resolution
This step is important: if you choose the wrong model, the compiled .tft file might not work correctly on the actual display.
2. Import the icons
In the resources panel, import the images you want to use for:
- home
- clock
- brightness
Then insert them into the page using components like Picture or graphical buttons.
3. Design the main page
On page0, place:
- a clean background
- three text areas for time, temperature, and humidity
- two navigation icons
Name the objects properly. Example:
tTimetTemptHumbGoClockbGoBright
4. Design the time adjustment page
On page1, insert:
- two numeric fields for hours and minutes
- a save button
- a back button
You can also add two descriptive text labels:
tHourLabeltMinLabel
5. Design the brightness page
On page2, insert:
- an
hBrightslider - a
tBrighttext - a
bBack2button
6. Set up local actions on the display
It is best to let the Nextion directly handle actions that do not require Arduino.
- on
bGoClocksetpage page1 - on
bGoBrightsetpage page2 - on
bBack1setpage page0 - on
bBack2setpage page0
For objects that need to communicate with Arduino, enable the transmission of touch events to the serial port, so Arduino can receive the library callbacks.
Arduino-Side Logic
Arduino needs to do the following:
- initialize the RTC, DHT, and Nextion serial port
- read the time from the DS3231
- read temperature and humidity from the DHT22
- update the text fields on the display
- receive button touch events
- save a new time to the DS3231
- change the Nextion brightness
Arduino Libraries
For this project, the following work perfectly:
ITEADLIB_Arduino_Nextionfor the displayRTClibfor the DS3231DHT sensor libraryby AdafruitAdafruit Unified Sensoras a dependency for the DHT
Useful note: the official Nextion library is designed for boards with hardware serial ports. The official repository states that the default configuration is for the MEGA2560, with the Nextion serial port configurable in NexConfig.h.
Basic Example Sketch
This is not meant to be the final firmware, but a clean skeleton to start from.
#include
#include
#include
#include

#define DHTPIN 7
#define DHTTYPE DHT22

DHT dht(DHTPIN, DHTTYPE);
RTC_DS3231 rtc;

NexText tTime    = NexText(0, 1, "tTime");
NexText tTemp    = NexText(0, 2, "tTemp");
NexText tHum     = NexText(0, 3, "tHum");
NexButton bGoClock  = NexButton(0, 4, "bGoClock");
NexButton bGoBright = NexButton(0, 5, "bGoBright");

NexNumber nHour  = NexNumber(1, 1, "nHour");
NexNumber nMin   = NexNumber(1, 2, "nMin");
NexButton bSaveTime = NexButton(1, 3, "bSaveTime");

NexSlider hBright = NexSlider(2, 1, "hBright");
NexText tBright   = NexText(2, 2, "tBright");

NexTouch *nex_listen_list[] = {
  &bGoClock,
  &bGoBright,
  &bSaveTime,
  &hBright,
  NULL
};

void updateHomePage() {
  DateTime now = rtc.now();

  char bufTime[9];
  snprintf(bufTime, sizeof(bufTime), "%02d:%02d:%02d",
           now.hour(), now.minute(), now.second());
  tTime.setText(bufTime);

  float h = dht.readHumidity();
  float t = dht.readTemperature();

  if (!isnan(t)) {
    char bufTemp[16];
    snprintf(bufTemp, sizeof(bufTemp), "%.1f C", t);
    tTemp.setText(bufTemp);
  }

  if (!isnan(h)) {
    char bufHum[16];
    snprintf(bufHum, sizeof(bufHum), "%.1f %%", h);
    tHum.setText(bufHum);
  }
}

void bSaveTimePopCallback(void *ptr) {
  uint32_t hh = 0;
  uint32_t mm = 0;
  nHour.getValue(&hh);
  nMin.getValue(&mm);

  DateTime now = rtc.now();
  rtc.adjust(DateTime(now.year(), now.month(), now.day(),
                      hh % 24, mm % 60, 0));
}

void hBrightPopCallback(void *ptr) {
  uint32_t value = 0;
  hBright.getValue(&value);

  char cmd[16];
  snprintf(cmd, sizeof(cmd), "dim=%lu", value);
  sendCommand(cmd);

  char txt[16];
  snprintf(txt, sizeof(txt), "%lu%%", value);
  tBright.setText(txt);
}

void setup() {
  Serial.begin(115200);
  Serial2.begin(9600);

  Wire.begin();
  dht.begin();
  rtc.begin();
  nexInit();

  bSaveTime.attachPop(bSaveTimePopCallback, &bSaveTime);
  hBright.attachPop(hBrightPopCallback, &hBright);

  if (rtc.lostPower()) {
    rtc.adjust(DateTime(F(__DATE__), F(__TIME__)));
  }

  updateHomePage();
}

void loop() {
  static unsigned long lastUpdate = 0;

  nexLoop(nex_listen_list);

  if (millis() - lastUpdate >= 1000) {
    lastUpdate = millis();
    updateHomePage();
  }
}
How This Sketch Works
- Every second, Arduino updates
tTime,tTemp, andtHum - When you touch
bSaveTime, Arduino readsnHourandnMinand updates the DS3231 - When you move the
hBrightslider, Arduino reads the value and sends thedim=...command to the display
For the brightness command, Nextion uses dedicated serial instructions. The adjustment is in percentage from 0 to 100.
Compiling the Nextion Project
Once the graphics are finished:
- run a test in
Debugmode within the Nextion Editor - fix any incorrect IDs or names
- compile the project
- generate the
.tftfile
The .tft file is the one that needs to be loaded onto the display.
Uploading the Program to the Display
Upload from Nextion Editor via Serial Port
Convenient for quick development, but be careful:
- the display must be connected to a serial port accessible by the PC
- if the display is still connected to the Mega, conflicts may occur
Upload via microSD Card
This is often the easiest and most robust method:
- copy the
.tftfile to the microSD card - keep only one
.tftfile on the card - insert the microSD card into the Nextion
- power the display back on
- wait for the update to complete
Uploading the Firmware to Arduino
- install the libraries
- verify that the Nextion library points to the correct serial port
- compile the sketch
- upload the firmware to the Mega
If you are using the official Nextion library and want to use a different serial port than the default one, check the NexConfig.h file.
Recommended Testing Strategy
Test 1: Display Only
- create
page0 - write a static text label
- verify that the
.tftfile loads correctly
Test 2: Serial Communication Only
- send text from Arduino to
tTime - check that the display updates
Test 3: RTC Only
- print the time to the serial monitor
- verify that the DS3231 keeps time properly
Test 4: DHT22 Only
- read temperature and humidity
- remember that the DHT22 should not be queried too frequently
Test 5: Touch Callbacks
- touch
bSaveTime - verify that Arduino receives the event
Test 6: Brightness
- move the
hBrightslider - verify that the display changes intensity
Common Mistakes
TXandRXwires incorrectly swapped- insufficient power supply to the display
- Nextion objects named differently from those used in the sketch
- incorrect page IDs or component IDs
- Nextion library configured on a different serial port
- DHT read too frequently
- lack of a common ground
A Good Division of Labor
If you want an orderly project, stick to this rule:
- Nextion: graphics, pages, buttons, sliders
- Arduino: sensors, time, logic, controls
With this division, the project scales nicely. If tomorrow you want to add alarms, temperature logs, or a settings page, you won't have to rebuild everything from scratch.
Conclusion
A Nextion display combined with an Arduino Mega is a very practical solution for building touch interfaces without losing sanity over traditional embedded graphics.
For a project like this, the best path is:
- carefully design the pages in the Nextion Editor
- name objects consistently
- use the Mega for all the logic
- update the display via serial only when necessary
- test one block at a time
If you wish, you could expand this into a second part featuring a complete project, a more polished .ino file, and a detailed page-by-page list of Nextion objects.
Useful References
- Official Nextion Library for Arduino
- Official Nextion Tutorial with Mega2560
- Nextion Editor Guide
- Nextion Instruction Set
- RTClib for DS3231
- DHT Sensor Library
The ads contained on this page are boring, but they allow us to pay for server expenses. If you click on one of them, you will also contribute to maintaining the site. THANK YOU